fadi
FADI - Ingest, store and analyse big data flows
FADI - Installation
- 1. Local installation
- 2. Deployment on a generic Kubernetes cluster
- 3. Deployment on GKE
- 4. Troubleshooting
- 5. Continuous integration (CI) and deployment (CD)
- 6. Additional configuration
This page describes how to install the FADI platform
- on a laptop/workstation, using Minikube for local development
- on a generic Kubernetes cluster for a self-hosted installation
- on Google Kubernetes Engine (GKE) as an example of public cloud
The last sections describes how to automate the deployment using Gitlab-CI, and configure various parts of FADI (user management, …).
Once FADI is installed, head to the user guide
The deployment of the FADI stack is achieved with:
1. Local installation
This type of installation provides a quick way to test the platform, and also to adapt it to your needs.
1.1. Prerequisites
The following tools need to be installed on the host system:
- a virtualisation solution (for example VirtualBox or KVM)
- Kubectl, the Kubernetes CLI
- Minikube, a local Kubernetes cluster
- the Helm client v3 (please, install >3.0 version of Helm)
Make sure that the computer you are installing FADI to is powerful enough (currently, 6vcpu’s and 12GB RAM are needed for comfortable use).
1.2. Local deployment
1.2.1. Prepare the local Kubernetes cluster
Delete any previously created Minikube installation:
minikube delete
Start Minikube:
minikube start --cpus 6 --memory 12288 --disk-size=40GB
Notes:
- the vm driver can be specified as such:
--vm-driver kvm2or--vm-driver virtualbox - a partial FADI stack would need less ressources, edit the config file accordingly to disable services that are not needed.
To get the Kubernetes dashboard, type:
minikube dashboard
This will open a browser window with the Kubernetes Dashboard:

Note for Mac users : you need to change the network interface in the Minikube vm: in the VirtualBox GUI, go to minikube->Configuration->Network->Interface 1->advanced and change Interface Type to PCnet-FAST III (the minikube vm should be shut down in order to be able to change the network interface: minikube stop
1.2.2. Install FADI services on the local cluster
Clone this repository:
git clone https://github.com/cetic/fadi.git fadi
cd fadi
Launch the Helm script, this will deploy all the FADI services on the Minikube cluster (and may take some time).
cd helm
# you can edit values.yaml file to customise the stack
./deploy.sh
You can check everything is deploying/-ed in the Kubernetes dashboard:
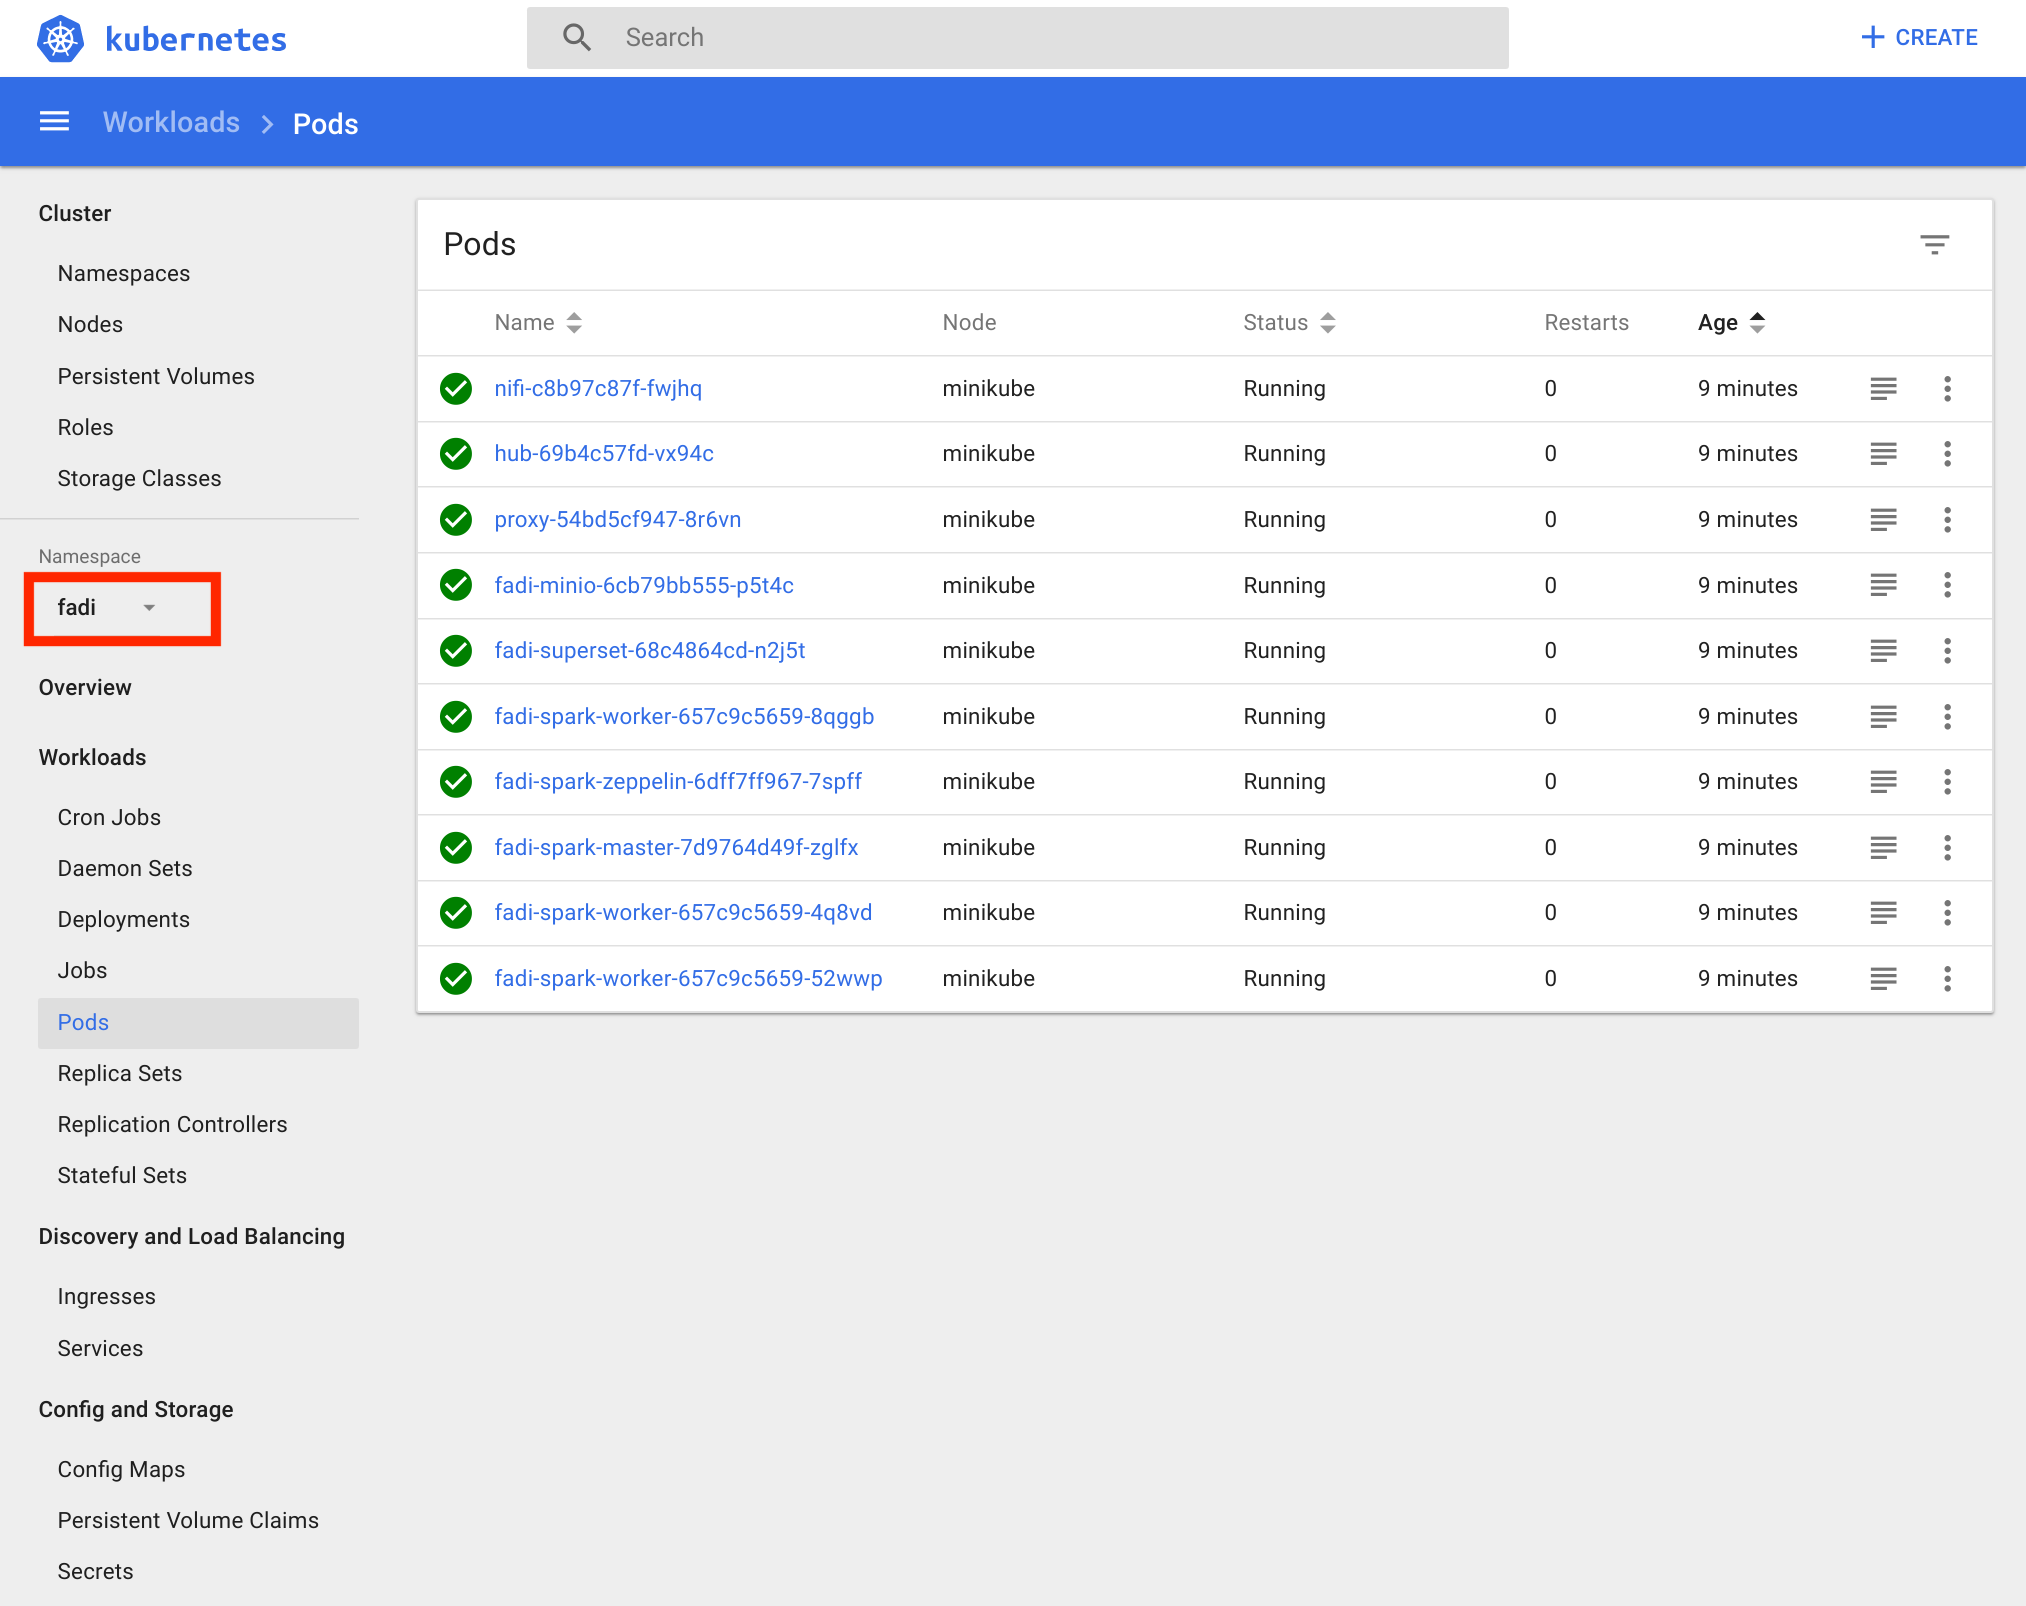
Do not forget to specify the namespace to fadi
To list the different services of the FADI framework:
minikube service list
To list the different fadi pods and their status:
kubectl get pods -n fadi
To access a service in your browser, run the following command in your shell (for Grafana here):
kubectl port-forward service/fadi-grafana 8080:80 -n fadi
Then, you can access the service by typing in your browser localhost:8080
You can list all the addresses by typing:
kubectl get ingressroute -n fadi
To update the FADI stack, re-type:
cd helm
./deploy.sh
To delete the FADI stack, type:
cd helm
./teardown.sh
Now that you have a sandbox with FADI on your workstation, you can try it with a simple use case.
2. Deployment on a generic Kubernetes cluster
First, clone this repository.
git clone https://github.com/cetic/fadi.git fadi
cd fadi
Set your Kubernetes context:
kubectl config set-context <your-k8s-context>
- make sure you have a default StorageClass in your cluster (see the FAQ entry)
- configure external access to the services:
- Reverse proxy configuration guide : https://github.com/cetic/fadi/blob/feature/documentation/doc/REVERSEPROXY.md
- Port forwarding instructions: https://github.com/cetic/fadi/issues/81
Finally, you can deploy the full FADI stack by typing:
cd helm
./deploy.sh
Note that depending on your workstation size and network connection, this could take some time (at least 5 minutes)
3. Deployment on GKE
GKE is a managed Kubernetes offer by the Google Cloud Platform (GCP).
“Kubernetes Engine is a managed, production-ready environment for deploying containerized applications. It brings our latest innovations in developer productivity, resource efficiency, automated operations, and open source flexibility to accelerate your time to market.”
The creation of a GKE environment can be done with Terraform or manually.
See the Terraform scripts for the creation of the Kubernetes cluster and its documentation.
To manually create a Kubernetes cluster (GKE):
- Visit the Google Kubernetes Engine menu in GCP Console.
- Click
Create cluster. - Choose the Standard cluster template or choose an appropriate template for your workload.
- From the Cluster Version drop-down menu, select the desired GKE version to run in the cluster.
It is also possible to create the Kubernetes cluster in command line, see: https://cloud.google.com/kubernetes-engine/docs/how-to/creating-a-cluster
4. Troubleshooting
- Installation logs are located in the
helm/deploy.logfile. - Check the Minikube and Kubernetes logs:
minikube logs kubectl get events --all-namespaces kubectl get events -n fadi kubectl get pods -n fadi kubectl logs fadi-nifi-xxxxx -n fadi - Enable metrics server in minikube:
minikube addons enable metrics-server - The FAQ provides some guidance on common issues
- For Windows users, please refer to the following issue.
5. Continuous integration (CI) and deployment (CD)
See .gitlab-ci.sample.yml for an example CI setup with Gitlab-CI.
A lightweight alternative to a proper Kubernetes cluster (for example for continuous integration or testing purposes) would be to install FADI in minikube (single node).
Setup a server (VM or bare metal) with the following specifications:
- 20 GB RAM
- 8 CPUs
- Debian 9
- Docker, minikube, git, vim, kubectl, …
- for port-forwarding:
sudo apt-get install socat
- for port-forwarding:
Launch minikube (in this case with vm-driver as none, see limitations of this approach here):
sudo minikube start --vm-driver=none
# now install FADI as usual:
git clone https://github.com/cetic/fadi.git fadi
cd fadi
kubectl config set-context minikube
minikube addons enable ingress
cd helm
# you can edit values.yaml file to customise the stack
./deploy.sh
# specify the fadi namespace to see the different pods
kubectl config set-context minikube --namespace fadi
Open minikube to the outside world (make sure you know what you are doing here):
kubectl proxy --address='0.0.0.0' --disable-filter=true
6. Additional configuration
See the user management documentation for information on how to configure user identification and authorization (LDAP, RBAC, …).
See the logs management documentation for information on how to configure logging.
See the reverse proxy documentation for information on how to configure the Traefik reverse proxy with FADI.
See the security documentation for information on how to configure SSL.
See the TSimulus documentation for information on how to simulate sensors and generate realistic data with TSimulus.