fadi
FADI - Ingest, store and analyse big data flows
Deploy FADI with Rancher and Proxmox
- 0. Prerequisites
- 1. Upload RancherOS ISO on Proxmox Node
- 2. Add Proxmox docker-machine driver to Rancher
- 3. Create Cluster With Rancher
- 4.Manage the provisioning of the persistent volumes
- 5. Control Cluster from local workstation
This page provides information on how to create a Kubernetes cluster on the Proxmox IaaS provider using Rancher.

“Proxmox VE is a complete open-source platform for enterprise virtualization. With the built-in web interface you can easily manage VMs and containers, software-defined storage and networking, high-availability clustering, and multiple out-of-the-box tools on a single solution.”

“Rancher is open source software that combines everything an organization needs to adopt and run containers in production. Built on Kubernetes, Rancher makes it easy for DevOps teams to test, deploy and manage their applications.”
0. Prerequisites
This documentation assumes the following prerequisites are met:
- a Proxmox installation on your self hosted infrastructure
- a Rancher installation that can access the Proxmox cluster, this can be done in another Kubernetes cluster to provide high availability, or simply in a virtual machine somewhere on your infrastructure.
1. Upload RancherOS ISO on Proxmox
First, download the rancheros-proxmoxve-autoformat.iso image and upload it to one of your Proxmox nodes.
2. Add Proxmox docker-machine driver to Rancher
Then, you need to allow Rancher to access Proxmox. We have contributed to upgrade an existing docker-machine driver to make it compatible with Rancher.
To add this driver in your Rancher, follow these steps :

3. Create the Kubernetes cluster with Rancher
After connecting to rancher, follow these steps:
Create Node Template
This is where you have to define the templates to use for the nodes (both masters and workers nodes). To do so, go to: profile (top right corner) > Node templates > Add Template :
Choose Proxmoxve
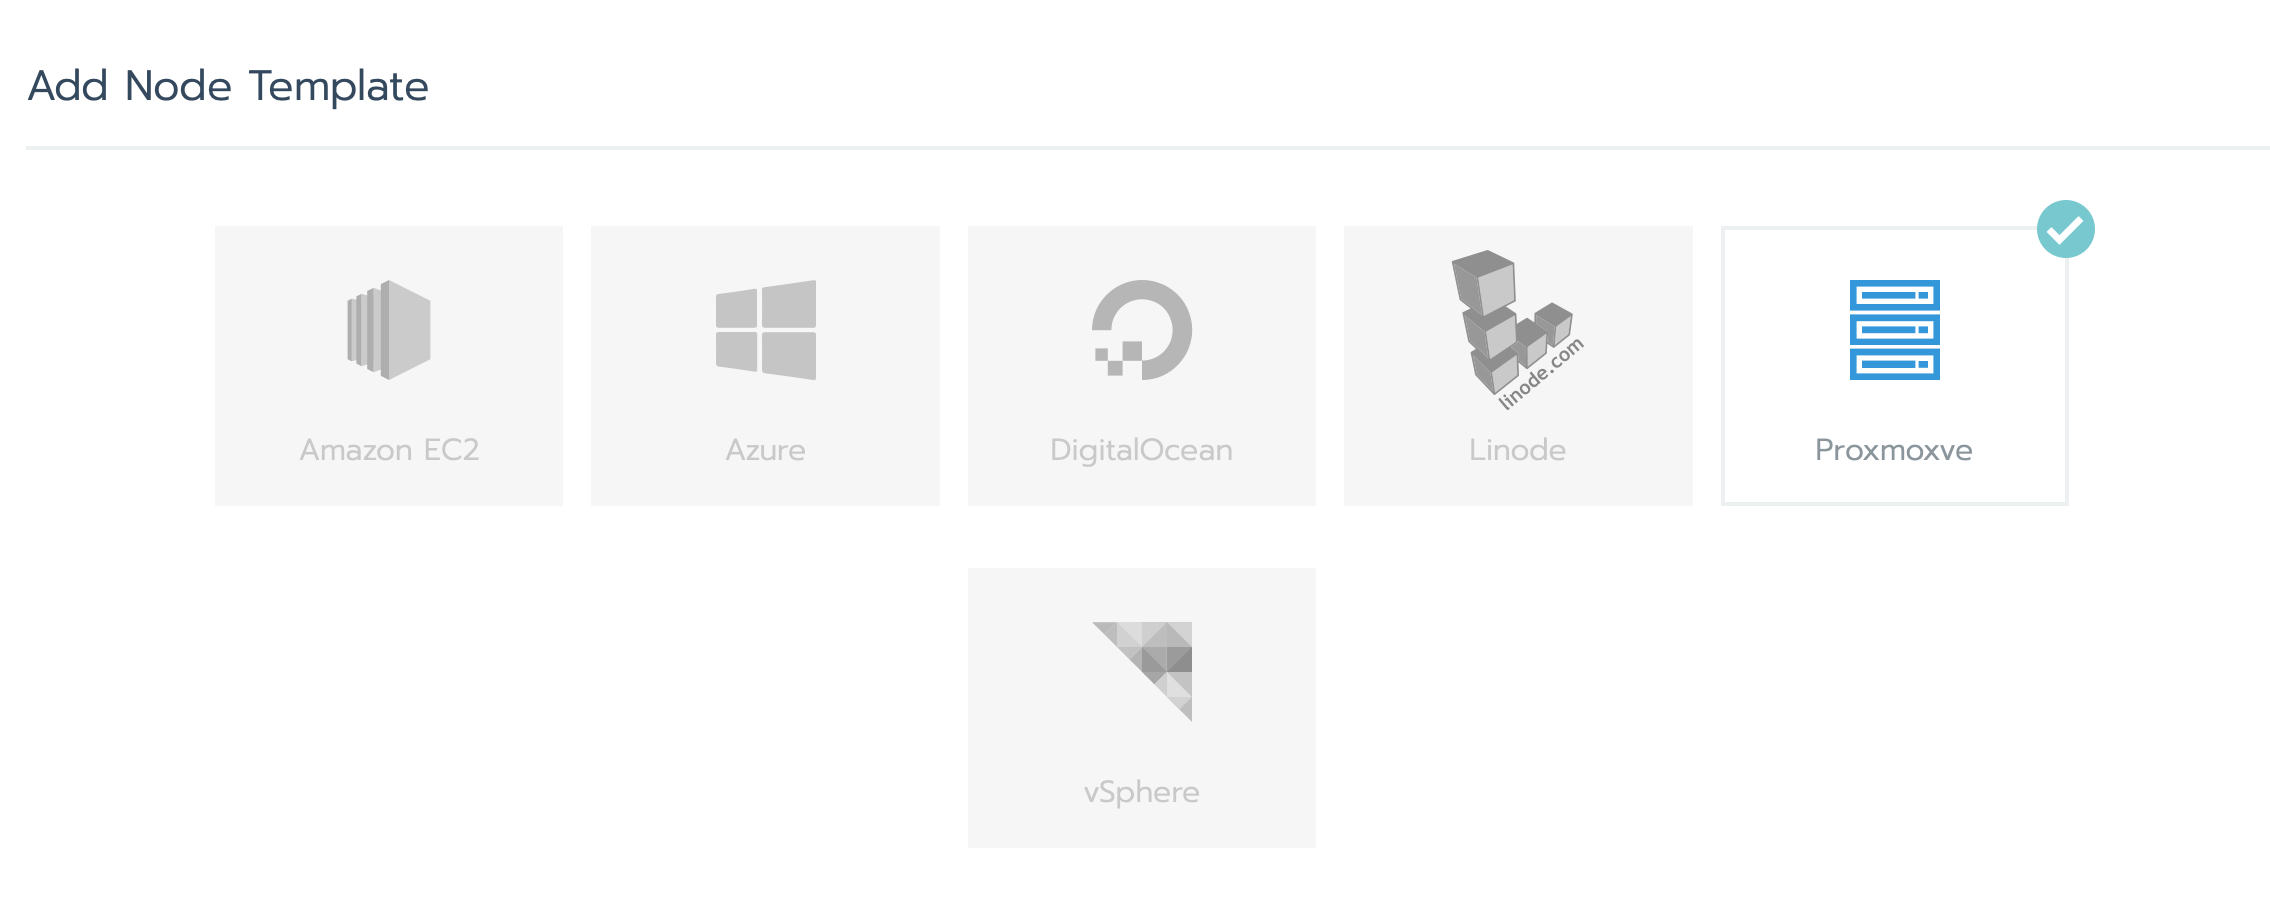
and then fill the rest of the fields:
- IP of the Proxmox
proxmoxHost, - username/password
proxmoxUserName, proxmoxUserPassword, - storage of the image file
vmImageFilewhich is in our caselocal:iso/rancheros-proxmoxve-autoformat.iso, - resources you want to allocate for your node
nodevmCpuCores, vmMemory, vmStorageSize.
Create the Kubernetes Cluster
To create your virtual machines cluster on Proxmox:
Cluster > Add Cluster > Proxmoxve
You will need to give a name to your cluster, then specify the nodes in the cluster:
- at first, you may want to start with one master node,
- give it a name,
- choose the template created earlier for that node,
- tick all 3 boxes for
etcd,Control PlaneandWorker, - choose the Kubernetes version,
- and finally click
create.
“you will have to wait for the
VM creation, theRancherOS installand theIP address retrievingsteps, that might take a while.”
Adding Nodes the Cluster
Once the master node gets its IP address, go to Cluster > Edit Cluster and add another worker node, untick the worker box from the master node and tick it in the new worker node. It should look to something like this:

If a second (or more) node (master or worker) is needed, you can add another one with a different template by following the same way we just did. You can also add as much nodes as you want using the same template by simply going to YourCluster (not global) > nodes > + and it will add another node of the same kind:

4. Persistent storage configuration
Once all your nodes are up and running it is time to deploy your services, but before you do, you need to set your default PVC for the persistent volumes.
Several ways are possible to manage its aspects. We will describe three of them, and leave it to you to choose the method that best meets your requirements.
StorageOS

StorageOS is a cloud native storage solution that delivers persistent container storage for your stateful applications in production. Dynamically provision highly available persistent volumes by simply deploying StorageOS anywhere with a single container.
To deploy the volume plugin StorageOS, go to YourCluster (not global) > system > apps > launch and search for StorageOS. make sure all the fields are filled correctly like the following screenshot:
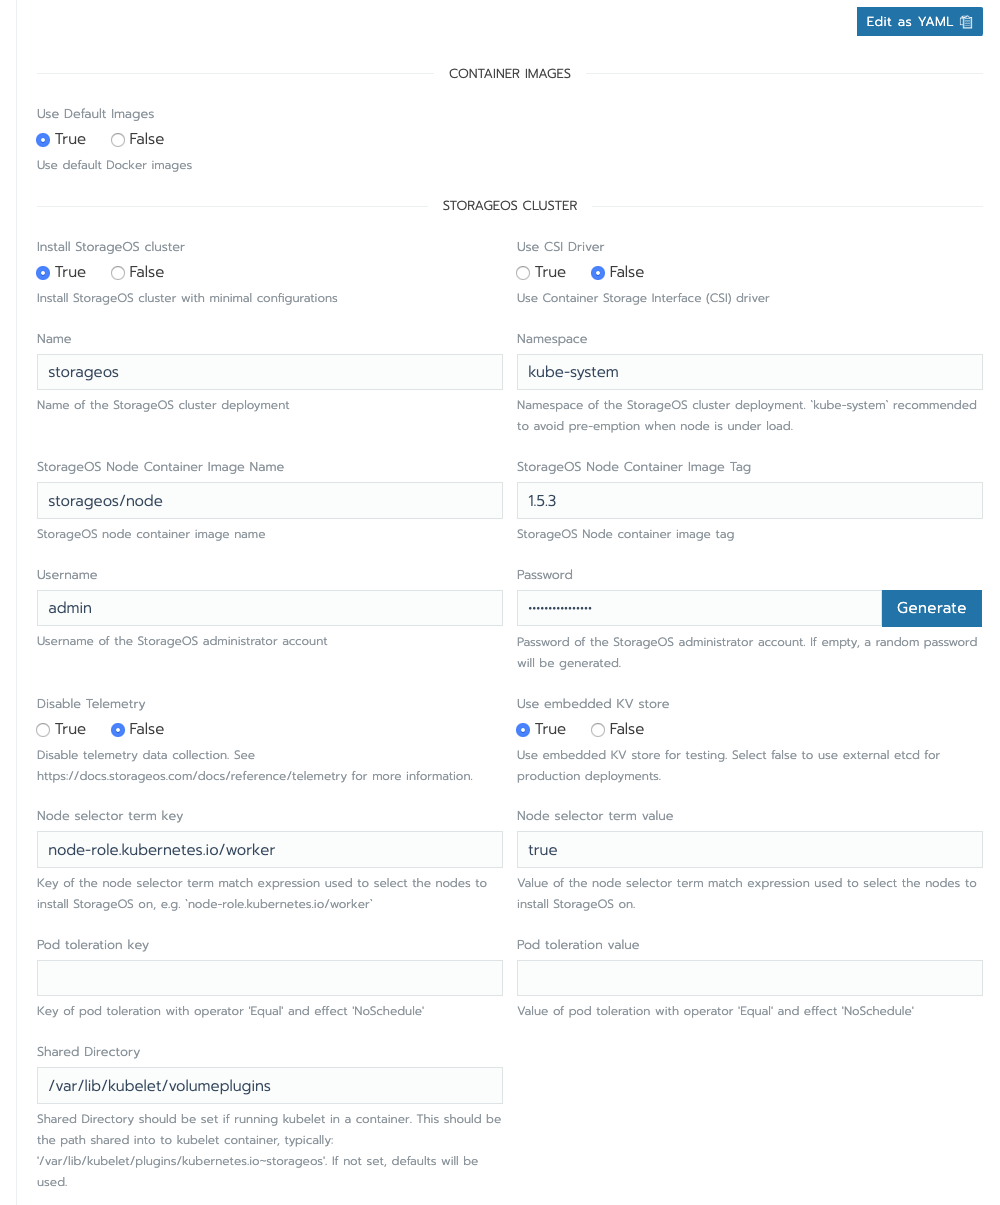
and now, launch it🚀.
A small animation take back this all steps:

launching apps usually takes several minutes, you’re going to need to wait a few minutes
StorageOS is a very good turnkey solution. However this service gives only the possibility to allocate maximum 50Gi with the basic License.

Finally, all that remains is to define the StorageClass StorageOS as the one that will be used by default. To do this, go to Storage> StorageClass and click on the menu (the three little points on the right side). Now, click on Set as Default.
This procedure is shown in the below animation :
Longhorn

Longhorn is a distributed block storage system for Kubernetes. Longhorn creates a dedicated storage controller for each block device volume and synchronously replicates the volume across multiple replicas stored on multiple nodes. The storage controller and replicas are themselves orchestrated using Kubernetes.
This tool is really very powerful, based on iSCSI technology. Unfortunately it is not yet supported by RancherOS (The operating system used in this example).
We report the bugs and problems encountered in two opened github issues:
https://github.com/rancher/os/issues/2937 https://github.com/longhorn/longhorn/issues/828
NFS Server Provisioner

The Network File System (NFS) is a client/server application that lets a computer user view and optionally store and update files on a remote computer as though they were on the user’s own computer. NFS Server Provisioner is an out-of-tree dynamic provisioner for Kubernetes. You can use it to quickly & easily deploy shared storage that works almost anywhere.
This solution is very easy to deploy and set up, a basic installation does not require any particular configuration. This plugin supports both the deployment of the NFS server and the management of persistent volumes.
One of the limits and caveat would be that the NFS server is attached to a node: if it crashes, it is possible that the data is lost.
To add this plugin to your cluster go to Apps and click on Launch. On the Search bar, put nfs-provisioner.
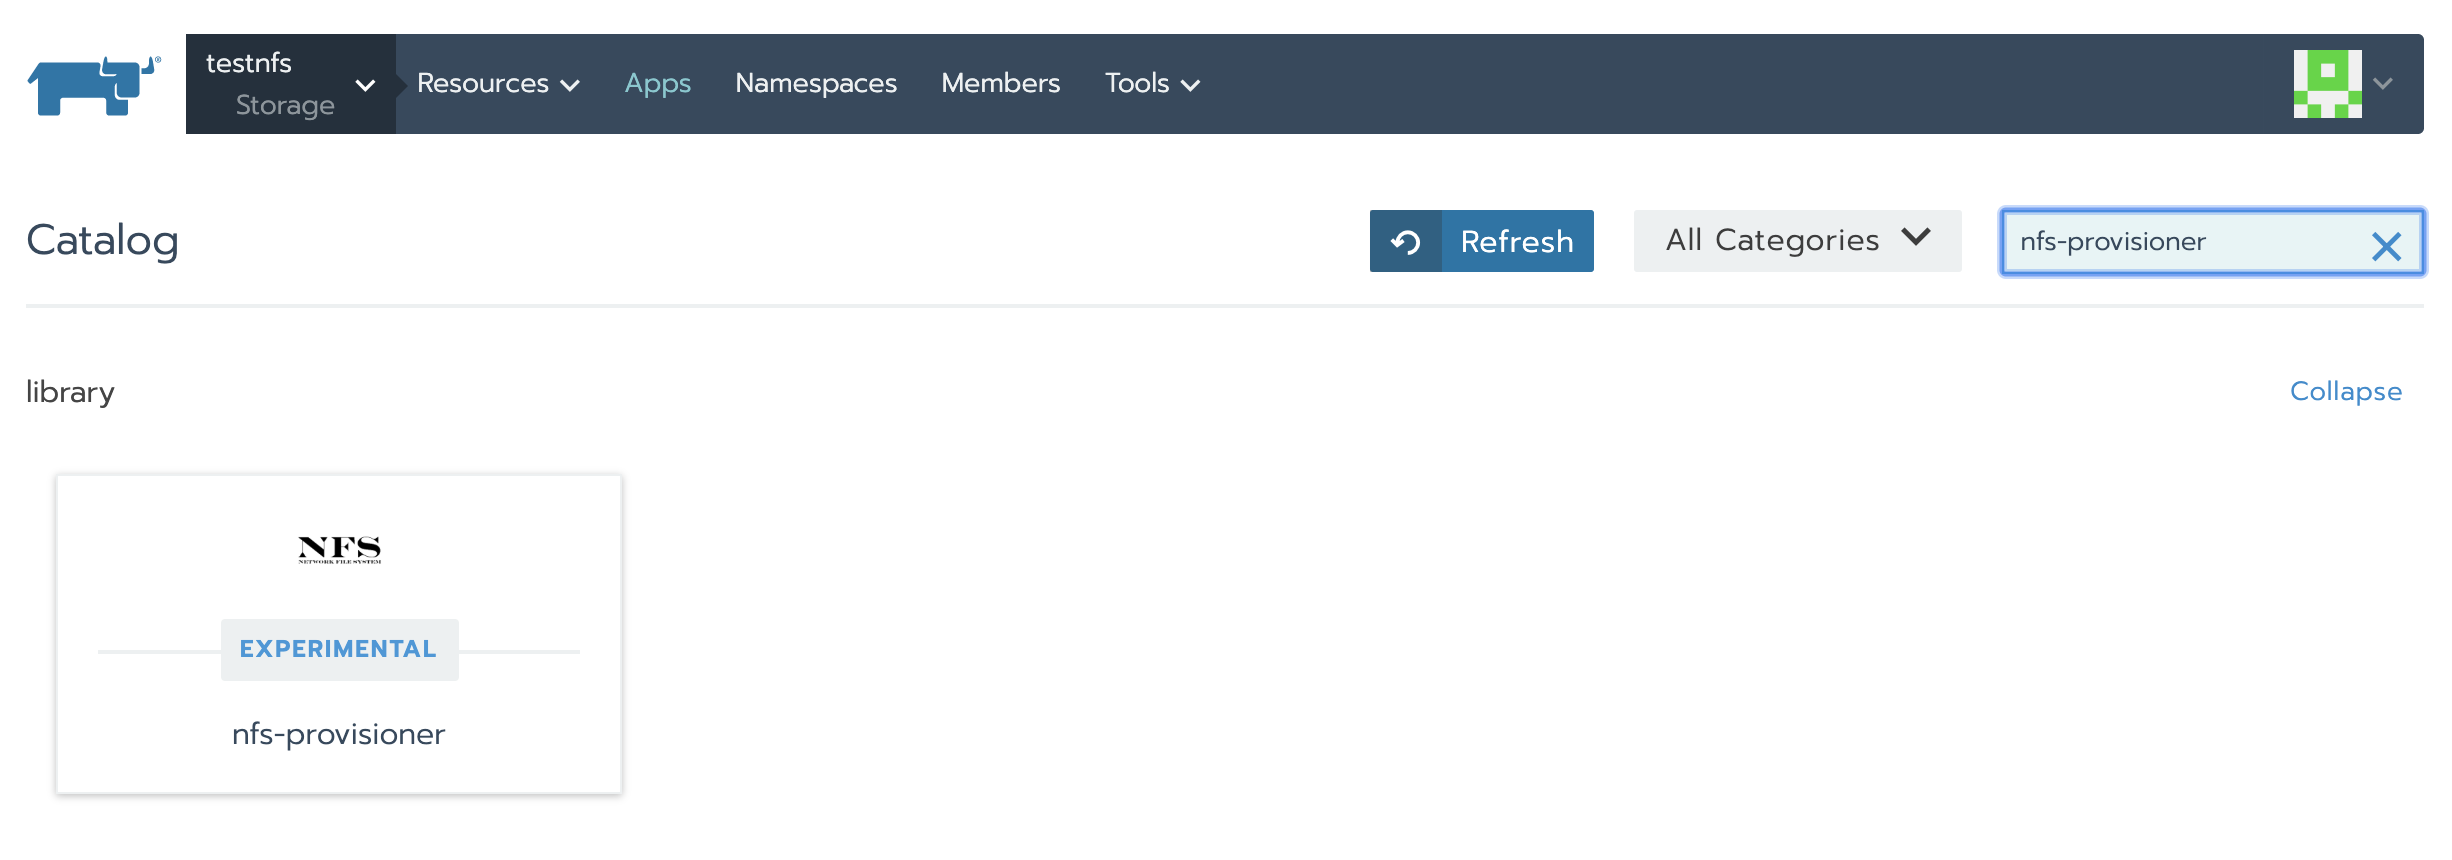
Select the plugin and click the launch button🚀.
Manually
It is also possible to manually create the persistent volumes, this way offers a complete control of the volumes but is less flexible. If you choose this option, please refer to the official documentation of Kubernetes.
5. Control Cluster from local workstation
There are ways to interact with your cluster using the kubectl command line tool.
First, Rancher offers a restricted terminal where only this tool is available. To access it, go to the monitoring page of your cluster and click on the launch kubectl button.
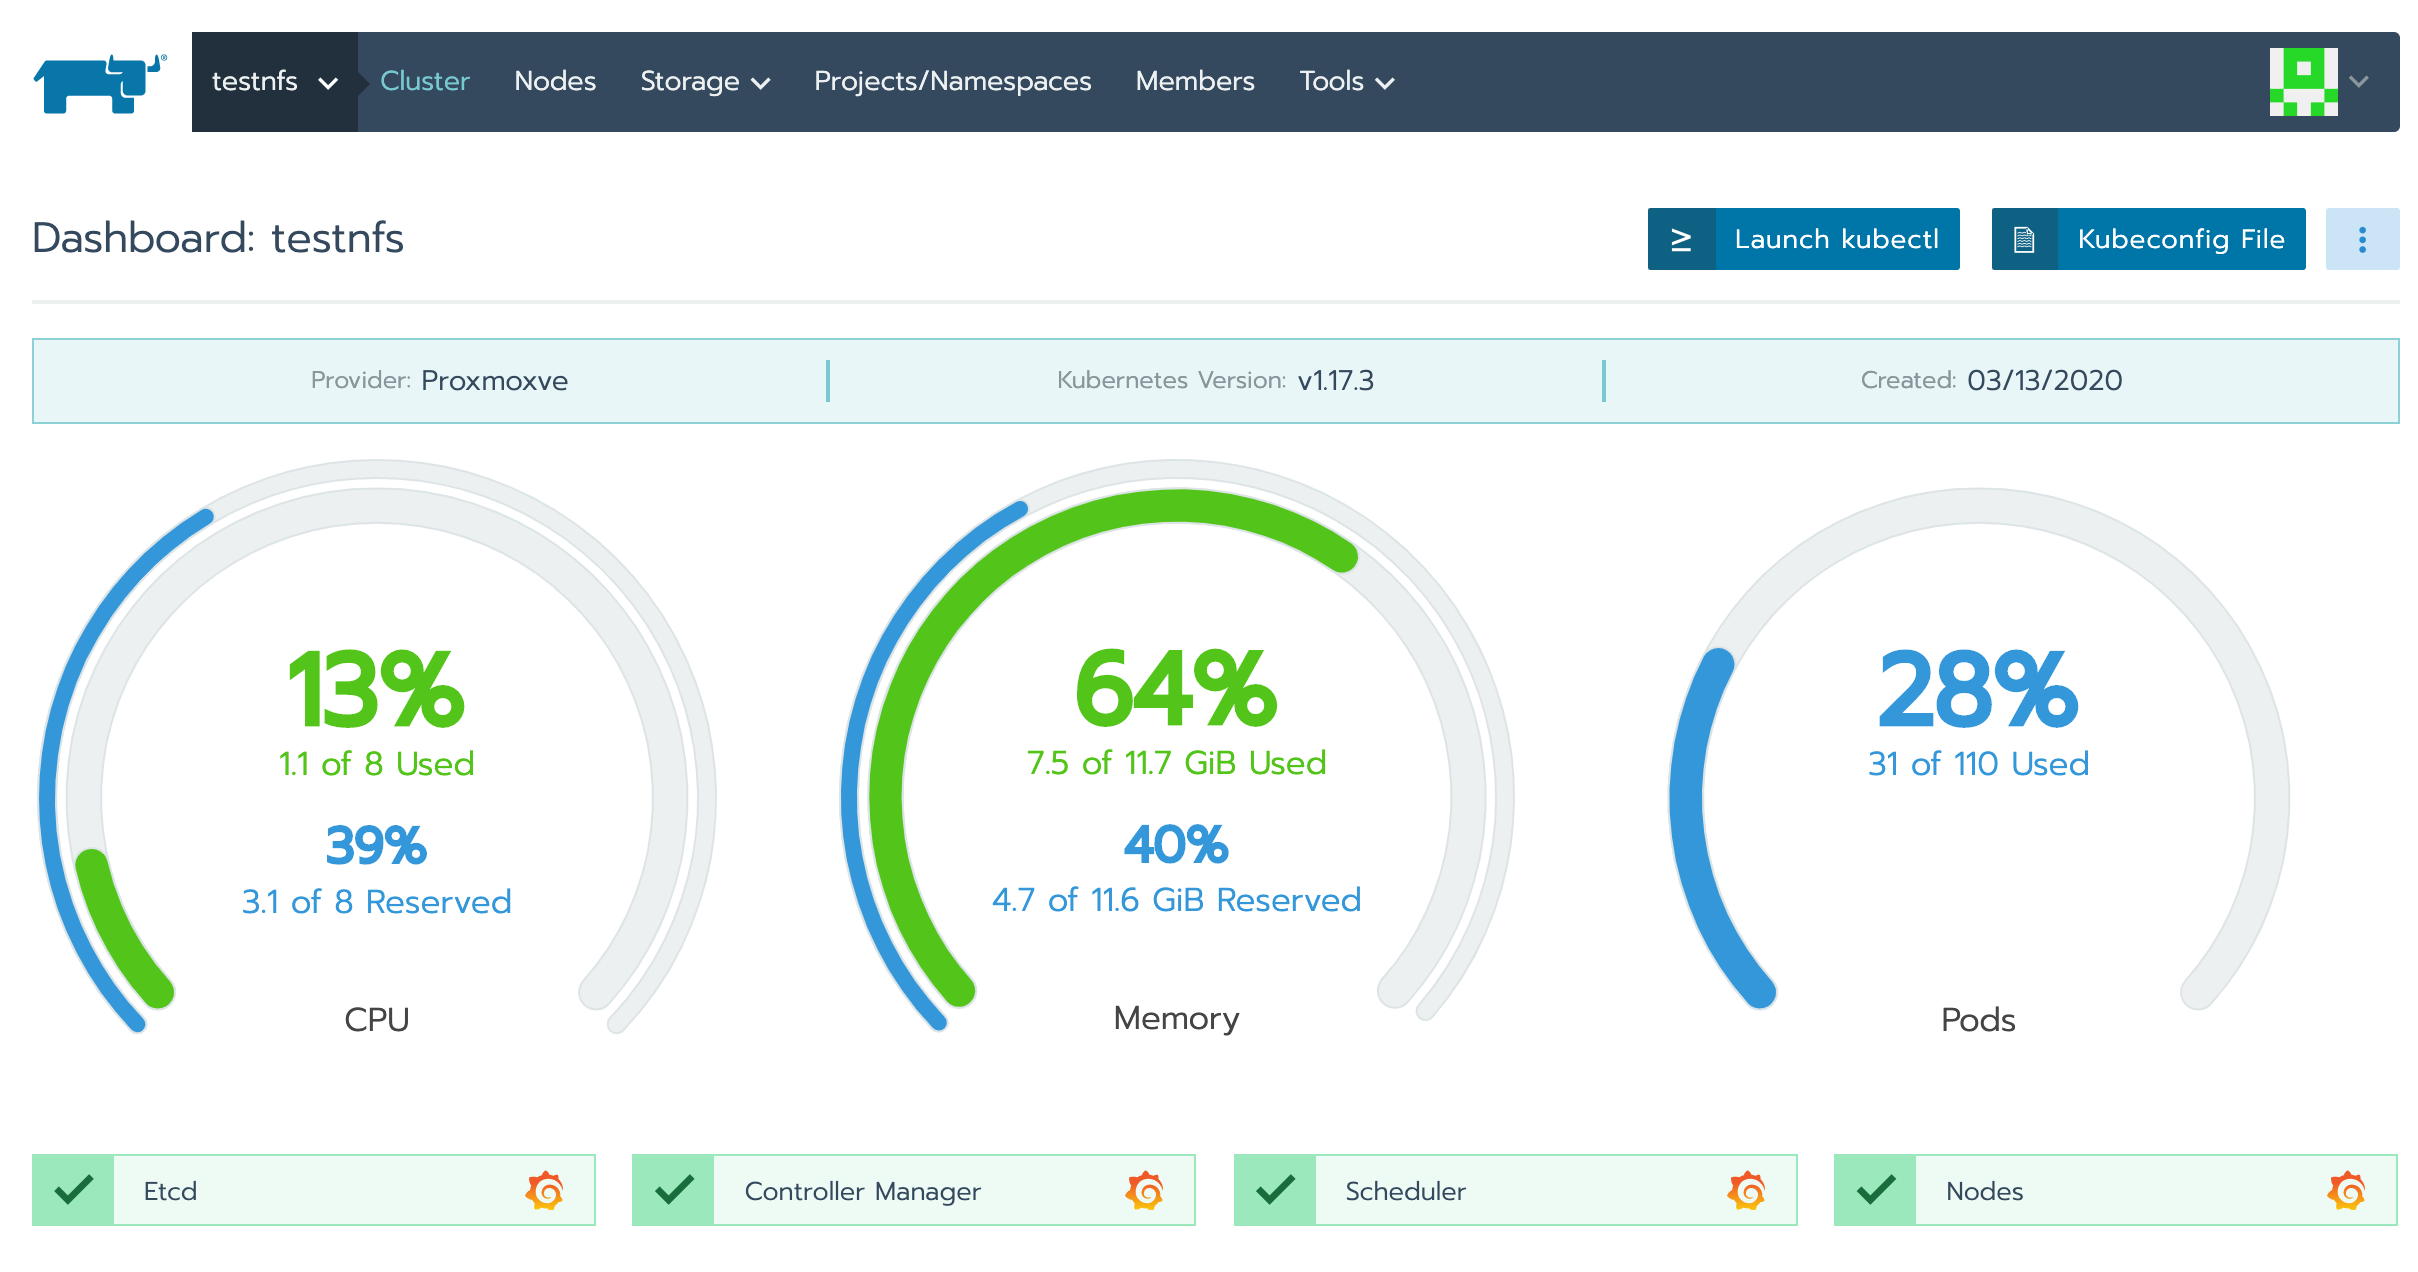
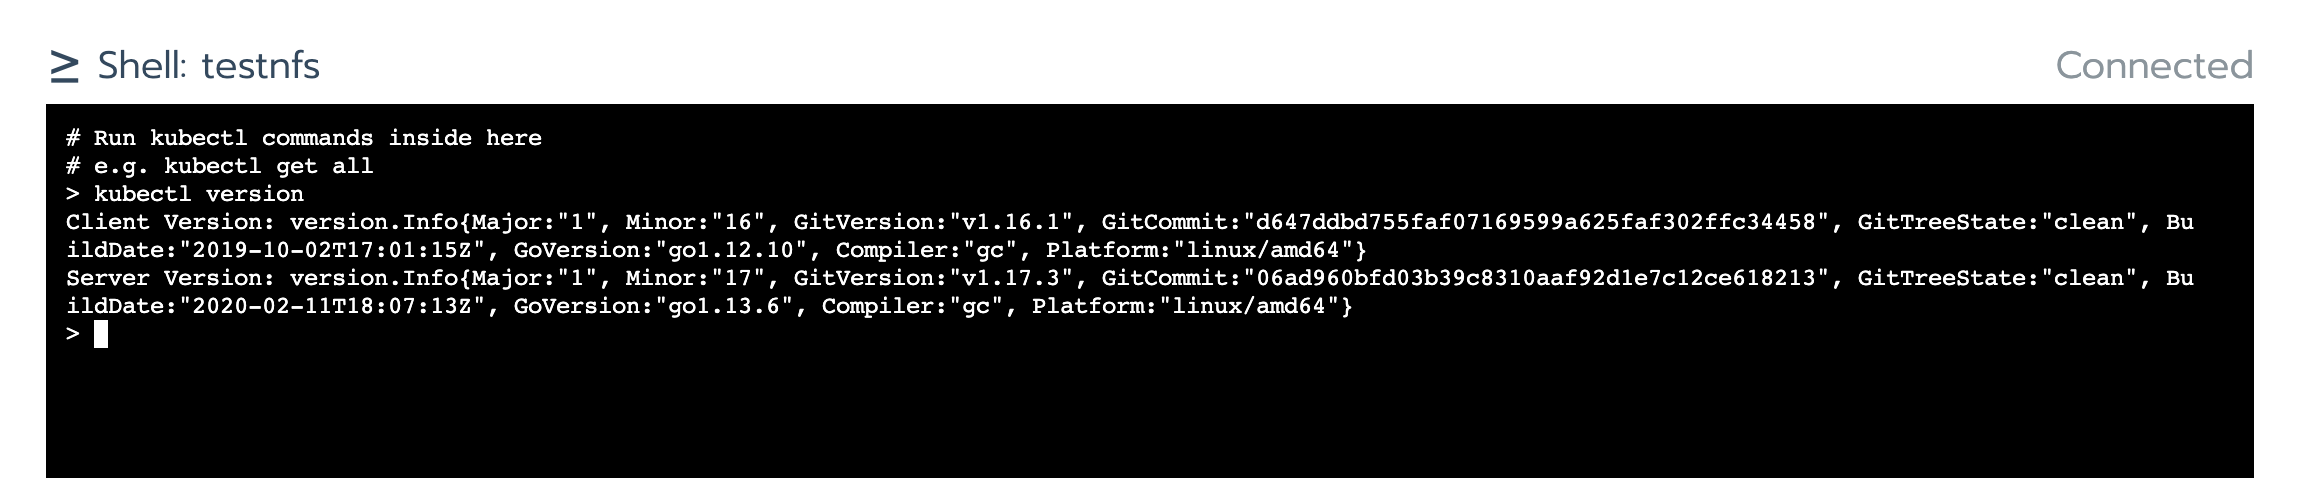
The second approach is to use the kubectl tool on your machine. to do so, go to the monitoring page of your cluster again and click on Kubeconfig File. Copy and paste all of the informations into the file ~/.kube/config present on your machine.
** You can now use your cluster created with rancher and deploy in Proxmox, enjoy!**